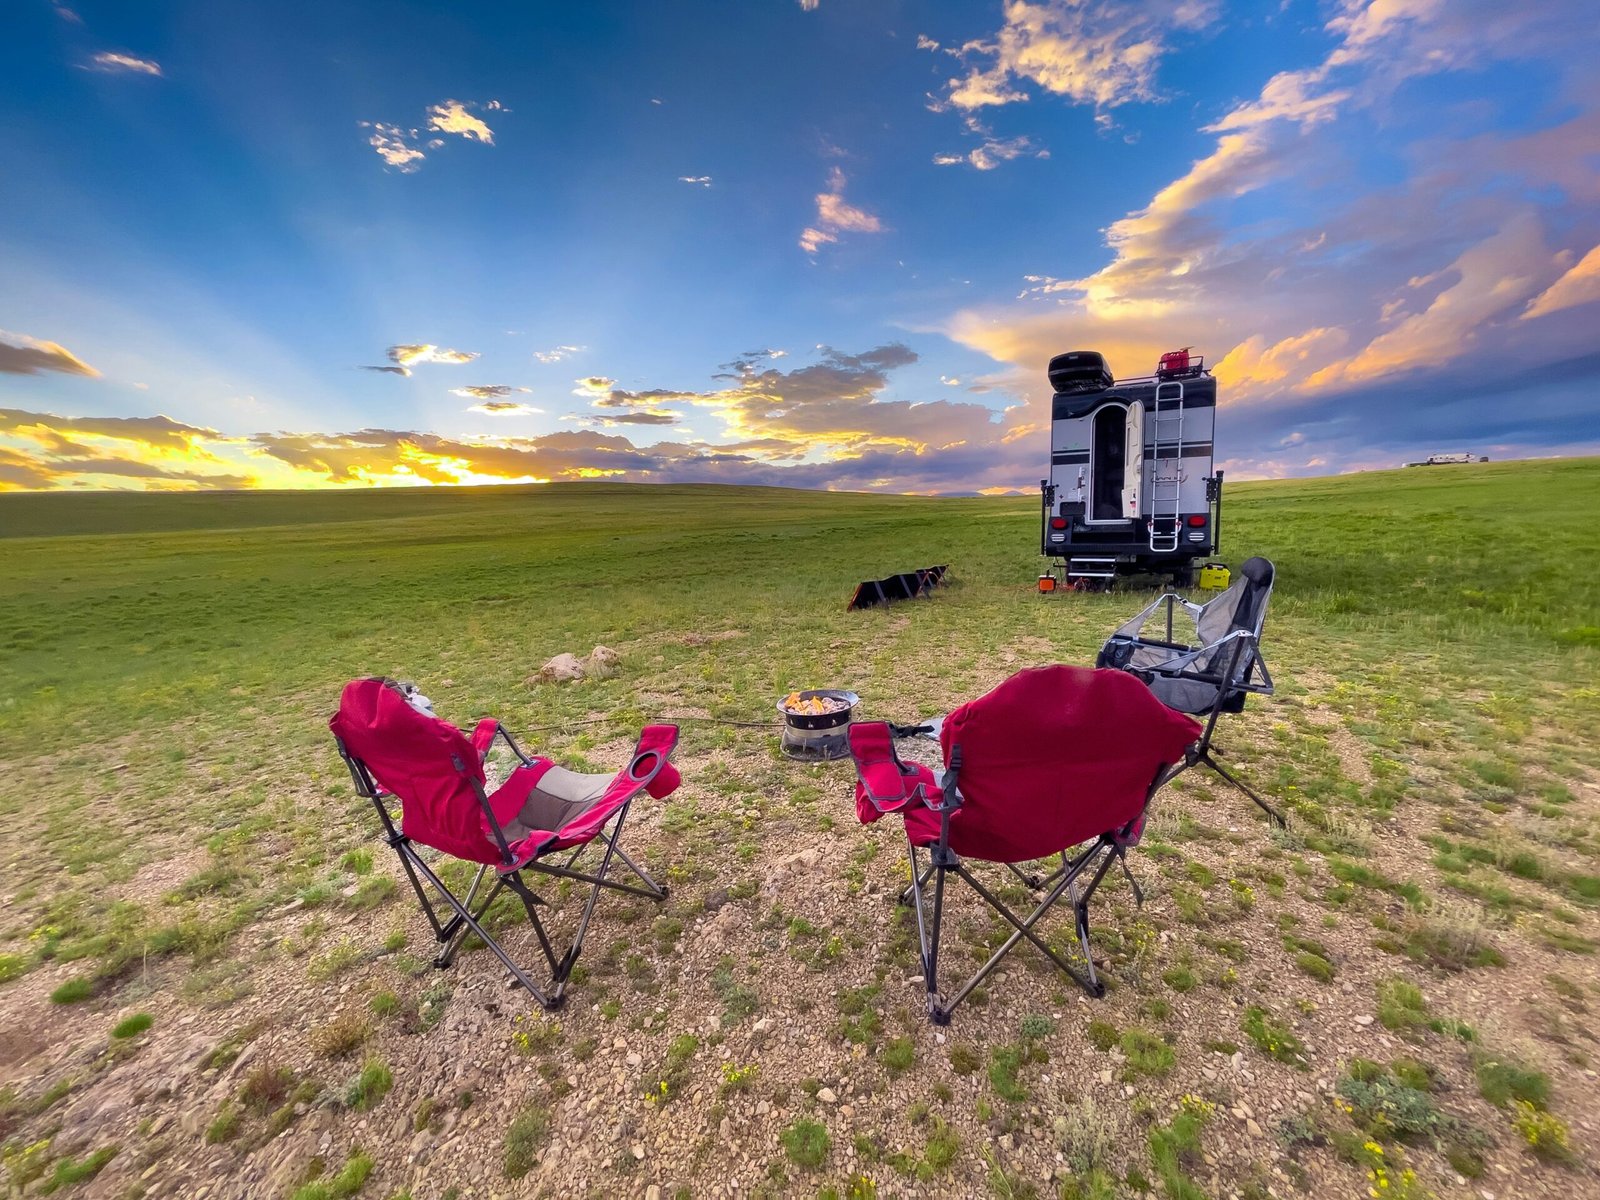
How to Replace RV Awning Straps (Step-by-Step DIY)
If your awning strap is frayed, too short, or gone altogether, you can swap it out in minutes with basic gear. This guide walks through replacing three pull straps on an RV, including two shorter bedroom awning straps and a longer slide-out strap. You’ll see how to prep the awning, slide the new strap into the groove, and finish with a clean, snug install. The whole job takes about 10 to 15 minutes and costs roughly 20 to 30 dollars.
Why I Decided to Replace My RV Awning Straps
The original straps on the RV measured 27 inches. They were too short, hitting the window when it was open and needing to be pulled very tight to work. That constant tension made them annoying to use and harder to grab when pulling the awning down.
To fix that, I ordered 28 1/2 inch replacement straps on Amazon with strong reviews. The goal was to get a longer strap that would sit lower, avoid hitting the glass, and last longer under normal use. I wanted to see if the replacements matched their stated length, how easily they install, and how they hold up.
I replaced three awning straps:
- Two smaller straps over the bedroom.
- One longer strap over the slide-out. This strap was still functional, but it had started to rip, so I swapped it before it failed.
Here’s what stood out about the new parts:
- Longer length for better fit.
- Potential for longer lifespan.
- Black strap with extra rubber protection to reduce ripping.
If you want to use the same gear, here’s what I bought: Awning Straps we used.
What You’ll Need for the Replacement
You won’t need much to do this right. There’s no drilling, no special tools, and no complicated adjustments. The main task is unrolling the awning, sliding the strap into the groove, and testing the pull.
Here’s what to have ready:
- New awning straps: Awning Straps we used
- A ladder or sturdy table for access
- WD-40, optional, as a helpful lubricant if the strap is stubborn
Before you start, unroll the awning fully and remove the old strap if it’s still there. That keeps the groove clear and makes insertion quick.
Step-by-Step Installation Guide
Replacing awning straps is a straightforward slide-in job. The strap has a bead end that fits into a groove on the awning roller. Your main job is to line up the bead, feed it into the slot, and work it along the track.
Preparing the Awning
Start by getting the awning open and stable. If your old strap is still attached, give it a pull to unroll the awning. If not, sit on a table or ladder and unwind it by hand. Once it is out, remove the old strap so it doesn’t interfere with the new one.
Why this matters: clearing the groove keeps the new strap from binding or jumping out of the track as you feed it.
Do these two things first:
- Unroll fully: You need open access to the roller groove.
- Remove old strap: Slide it out once the groove is exposed.
Common pitfalls to avoid:
- Forcing a strap that’s not lined up with the groove
- Twisting the strap while feeding it
- Skipping the unroll step and fighting a jammed slot
For context on how most pull straps slide in and out of the roller, this forum breakdown matches the process used here: Awning pull strap replacement.
Installing the Smaller Bedroom Straps
The shorter bedroom awning straps go in fast once you line up the bead with the groove. You can do this by hand without special tools.
How to do it:
- Align the bead end of the new strap with the roller groove.
- Push the bead into the slot, then pull gently to slide it down the track.
- Extend and retract the awning slightly to make sure the strap moves cleanly.
You might find the first push into the groove a little sticky. A tiny bit of WD-40 can help, but I slid it in dry with just a little extra pull. Once it starts, the strap feeds smoothly and seats well. It really is simple as that for the short straps.
If you feel resistance, back up a few inches, straighten the strap, and start again. Do not force it with tools or bend the bead.
Installing the Larger Slide-Out Strap
The longer slide-out strap follows the same method, with one helpful trick that makes it easier.
Use the old strap to your advantage. Leave it in place just long enough to hold the awning out. That tension creates space and keeps the roller stable while you start the new strap. You can then work the new strap in without wrestling the fabric.
Here’s the sequence:
- Use the old strap to extend the awning and keep it held out.
- Slide the new strap into the groove from one end of the roller.
- Work your way down the track, feeding the strap along the groove.
- Once the new strap is fully seated, remove the old strap and test the pull-down.
Finish by hooking the new strap to your existing anchor point or hook. Pull straight down and check that it seats and releases without slipping. The new strap sits lower thanks to the longer length, which keeps it from smacking the window.
The new straps are black and include rubber protection at the high-wear area near the hook point. The original strap, which was about 30 years old, had torn through this area. That extra rubber should help resist tearing and extend the life of the pull.
If your awning model requires a different approach, some brands use end caps or rivets. That is less common for simple pull-strap swaps, but it does come up on certain assemblies. For an example of a riveted end-cap method, see this community walkthrough: How to replace an awning strap for a Carefree awning.
Quick Reference: Old vs. New Strap
| Detail | Old Strap | New Strap |
|---|---|---|
| Length | 27 inches | 28 1/2 inches |
| Condition | Worn, one starting to rip | New, snug fit |
| Protection | None near hook point | Black strap with added rubber |
| Usability | Hit the window, had to pull tight | Hangs lower, easier to grab |
Fit, Length, and Real-World Use
The bump from 27 inches to 28 1/2 inches makes a real difference. With the longer strap, you do not have to yank as hard to reach the pull point, and it avoids tapping the window when open. It also gives you a cleaner, straighter pull from below without standing on your toes or tugging at an angle.
If you have multiple awnings, repeat the same process from smallest to largest. Doing the small ones first builds confidence and helps you fine-tune the feel of sliding the bead into the groove.
A few simple habits keep the new straps in good shape:
- Pull straight down instead of out at an angle.
- Hook the strap neatly so the rubber-protected section sits at the contact point.
- Keep the groove free of grit before installing new straps.
Troubleshooting: When the Strap Won’t Slide
Most installs are smooth. If yours gets hung up, check these basics:
- The bead must be fully seated in the groove. If it rides the edge, it will bind.
- The strap should not be twisted. A twist makes the bead sit unevenly.
- A light spritz of WD-40 can help if the track feels dry.
If your awning will not unroll because the strap is missing, unwind by hand from a ladder or a stable table. That was the most time-consuming part of this job, but still manageable. Once unrolled, installing the new strap is quick.
Cost, Time, and What to Expect
Both strap packs cost roughly 20 to 30 dollars combined. That covered two smaller straps and one longer strap. Actual pricing can vary by brand and model, but this gives you a ballpark for a full refresh.
The entire job took about 10-15 minutes to install all three straps. The hardest step was unwinding the awning by hand where the strap was missing. After that, sliding the bead into the groove and feeding the strap along the roller went fast.
You should expect:
- A cleaner pull that sits lower and avoids the window
- A sturdier feel thanks to the rubber-reinforced section
- A straightforward install you can repeat on any similar awning
Final Thoughts on the Replacement Process
Replacing RV awning straps is one of those easy wins that makes daily use smoother. The longer length solved the reach problem, and the added rubber should help where straps tend to fail. If your pull is frayed, short, or gone, you can swap it out quickly with a sturdy ladder and a little patience during the unroll.
Key benefits:
- Quick install time
- Affordable upgrade
- Better protection from wear
If you want to use the same parts, here they are again for convenience: Awning Straps we used. And if you like simple, practical RV fixes like this, subscribe to the channel for more RV tips and tricks.